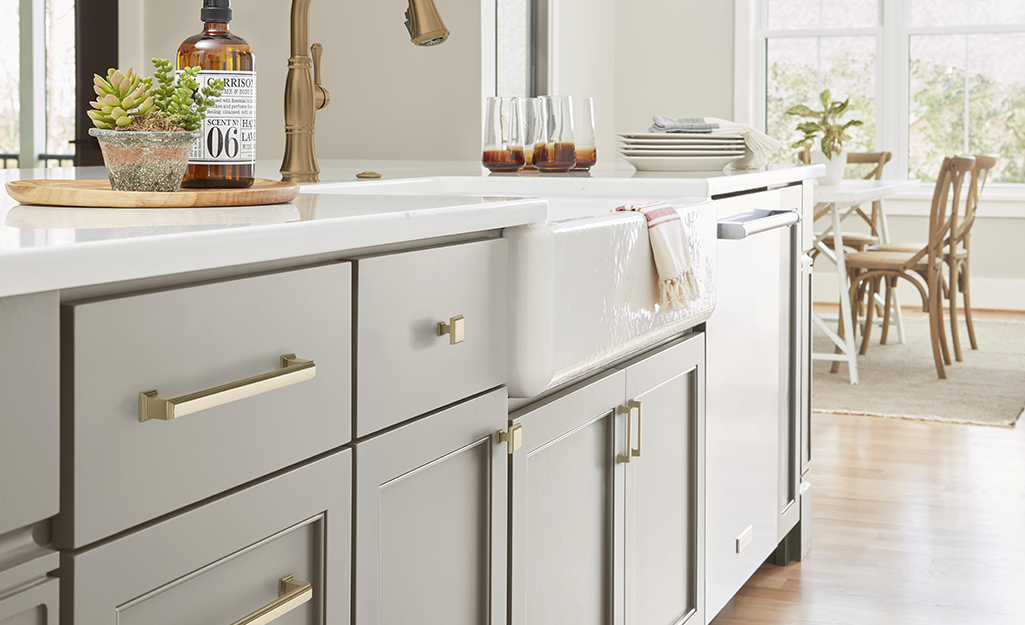
Updating the hardware in your kitchen can breathe new life into the space, giving it a fresh and modern look without breaking the bank. One of the simplest yet effective ways to achieve this transformation is by replacing your cabinet knobs. Additionally, while you’re at it, taking the time to thoroughly clean your cupboards can make a world of difference in the overall appearance and functionality of your kitchen. In this comprehensive guide, we’ll walk you through the step-by-step process of replacing cabinet knobs and cleaning cupboards, providing you with tips, tricks, and insights along the way.
Part 1: Replacing Kitchen Knobs

- Gather Your Supplies: Before you begin, make sure you have all the necessary supplies on hand. This typically includes new knobs or handles, a screwdriver, a measuring tape, and a pencil.
- Measure and Mark: Start by measuring the distance between the existing holes for the knobs or handles. This will help ensure that your new hardware fits perfectly in place. Use a pencil to mark the spots where the new holes will need to be drilled.
- Remove Old Knobs: Using a screwdriver, carefully remove the screws securing the old knobs or handles in place. Keep track of the screws as you’ll need them to install the new hardware.
- Prepare for Installation: If the new knobs or handles require different holes than the old ones, use a drill to create the necessary holes according to your measurements. Be sure to use the appropriate drill bit size for the job.
- Install New Knobs: Once the holes are drilled, insert the screws through the back of the cabinet door or drawer front, then attach the new knobs or handles securely in place. Use a screwdriver to tighten the screws, being careful not to overtighten them.
- Check Alignment: After installing all the new knobs or handles, double-check that they are aligned properly and securely attached. Make any necessary adjustments to ensure a uniform and professional-looking finish.
- Enjoy Your New Look: Stand back and admire your handiwork! Replacing the kitchen knobs or handles can make a significant impact on the overall appearance of your kitchen, giving it a fresh and updated look that you’ll love.
Here are some Small Kitchen Ideas That Don’t Skimp on Style
Part 2: Cleaning Cupboards

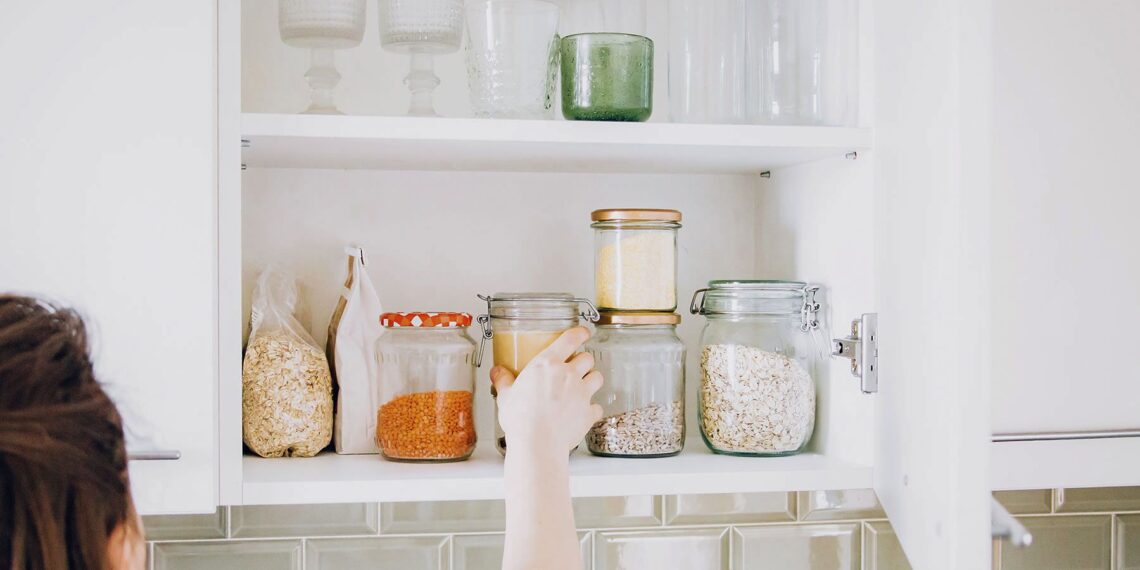
- Clear Out the Cupboards: Before you begin cleaning, remove all items from the cupboards to access every surface easily. This is also a great opportunity to declutter and organize your kitchenware.
- Dust and Debris Removal: Start by using a dry cloth or duster to remove any dust, crumbs, or debris from the interior surfaces of the cupboards. Pay special attention to corners, edges, and shelves.
- Choose Your Cleaning Solution: The type of cleaning solution you use will depend on the material of your cupboard surfaces. For wooden cupboards, a mixture of mild dish soap and water is often sufficient. For tougher stains or grease buildup, you may need a stronger cleaner or degreaser. Always test any cleaning solution on a small, inconspicuous area first to ensure it doesn’t cause damage.
- Scrub the Surfaces: Dip a clean cloth or sponge into your chosen cleaning solution and scrub the interior surfaces of the cupboards thoroughly. Work in small sections, focusing on one shelf or area at a time.
- Pay Attention to Detail: Don’t forget to clean the edges, corners, and hinges of the cupboards, as these areas can accumulate dirt and grime over time. Use a toothbrush or small brush to reach tight spots and crevices.
- Rinse and Dry: Once you’ve finished scrubbing, rinse the surfaces with clean water to remove any remaining cleaning solution. Use a dry cloth to wipe down the surfaces and ensure they are completely dry before replacing the items inside the cupboards.
- Optional: Apply a Protective Finish: If you have wooden cupboards, consider applying a protective finish or polish to help protect the wood and keep it looking its best. Be sure to follow the manufacturer’s instructions for application and drying times.
- Organize and Reassemble: Now that your cupboards are clean and dry, it’s time to organize and reassemble everything. Take this opportunity to streamline your kitchen storage and keep frequently used items within easy reach.
- Maintain Regular Cleaning: To keep your cupboards looking their best, incorporate regular cleaning into your household routine. A quick wipe down with a damp cloth every week or so can help prevent dirt and grime buildup and extend the life of your cupboards.
- Admire Your Handiwork: Step back and admire your freshly cleaned cupboards! Not only will they look better, but they’ll also create a healthier and more enjoyable cooking environment for you and your family.
In conclusion, replacing knobs and cleaning cupboards are simple yet effective ways to refresh the look and feel of your kitchen. By following these step-by-step instructions and incorporating regular maintenance into your routine, you can keep your kitchen looking its best for years to come.
If you’re looking for end of lease cleaning Melbourne then no look further as providing more than 10 years in the same industry and providing 100% bond back cleaning guarantee with no exception.


